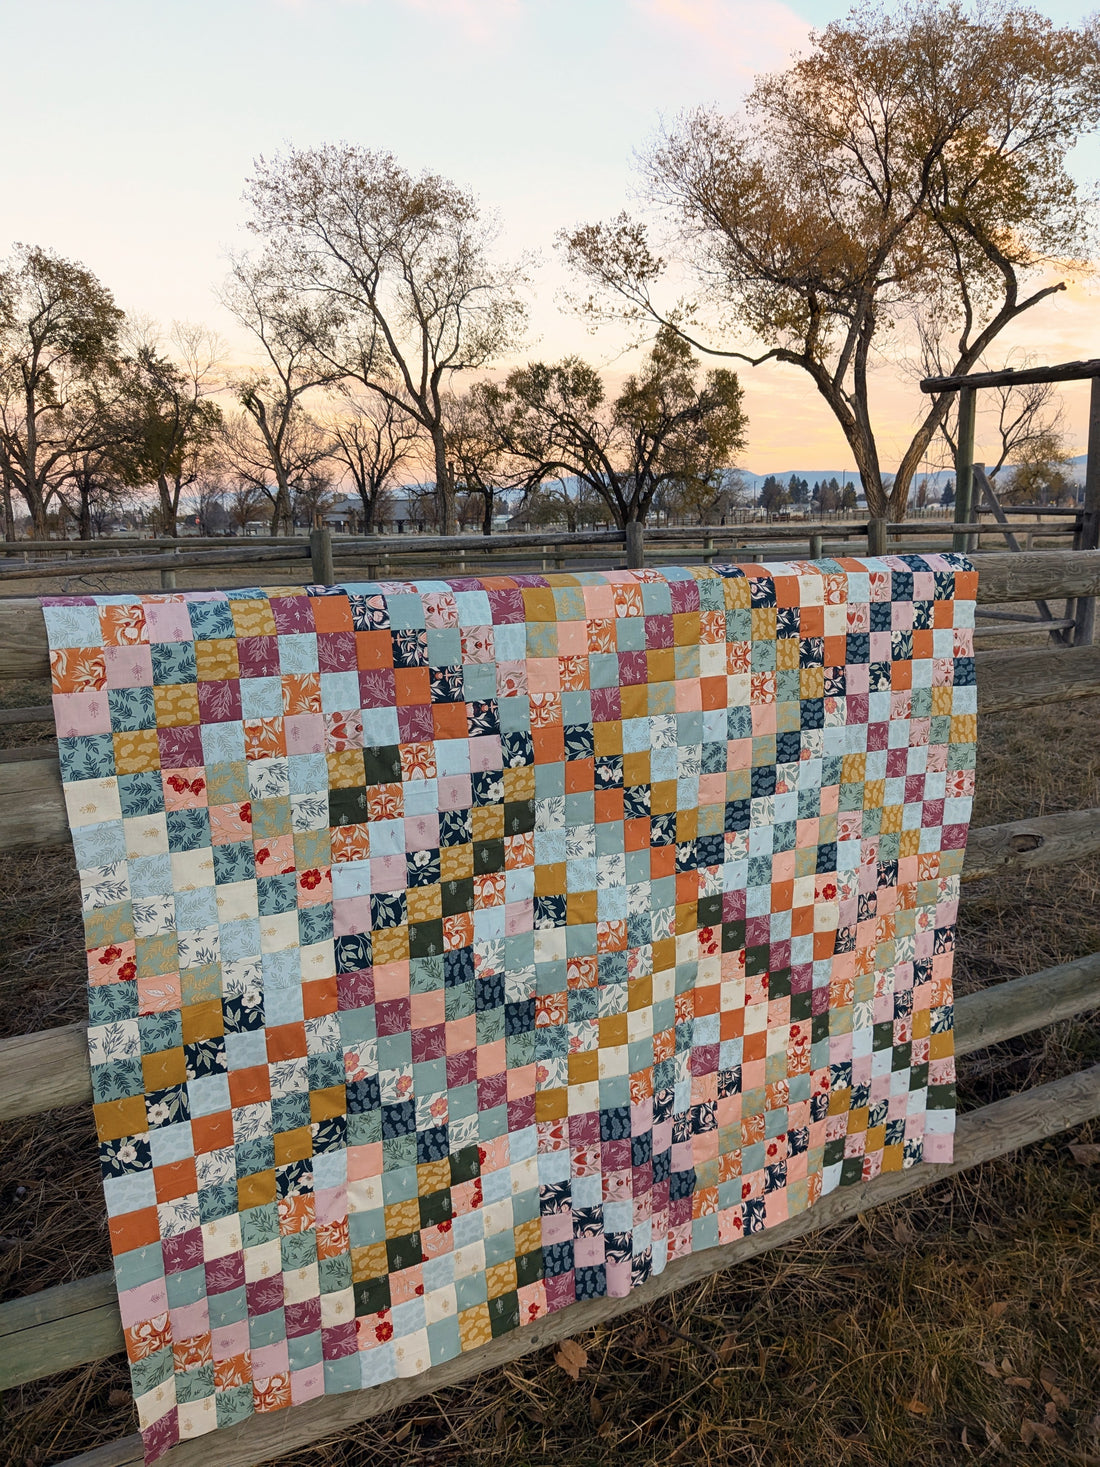
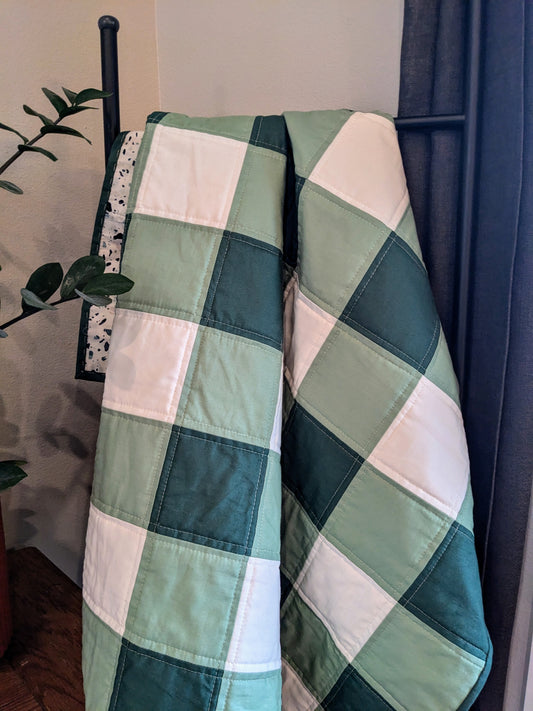
I’ve been wanting to make a Scrappy Trip Around the World quilt for some time, and when I saw the Garden Dreams fabric line by Alderwood Studio and Riley Blake Designs, I knew it was the perfect choice! This is actually my second quilt using these beautiful fabrics, and I love them more with each project. Below is a tutorial I’ve created so you can make one too—happy quilting!
Want to download this tutorial? Click HERE!
| Fabric Description | Throw 60" x 60" |
| Top | 24 Fat Quarters |
| Backing | 4 yards |
| Binding | 1/2 yard - (7) 2.5" x WOF strips |


For this quilt, I used 24 fat quarters. I used a Garden Dreams Fat Quarter bundle by Alderwood Studio and Riley Blake Studios.
For this quilt top, I made (25) 12.5" blocks. 5 rows across and 5 rows down.
Each block uses (6) 2.5" x 15" rectangles.

You will need (150) 2.5" x 15" rectangles total. That is (6) strips of 2.5" x 15" rectangles from (18) Fat Quarters's (FQ's) and (7) strips of 2.5" x 15" rectangles from (6) FQ's.
CUTTING INSTURCTIONS
From (18) FQ's cut (1) 15" x 15" square per FQ.
- Subcut each rectangle into (6) 2.5" x 15" rectangles.
For the additional (6) FQ's, cut (1) 17.5" x 15" rectangle per FQ.
- Subcut (7) 2.5" x 15" rectangles.
I chose to lay out all 25 blocks before I began sewing. I started each block with a different fabric (except 1 fabrics were used for the start of 2 blocks) and then added to it to get a scrappy feel. This fabric had a great variety of small and medium prints. I tried to alternate the size of the design and color of fabric for each fabric strip.

Now the fun begins!
Each block will be made individually.
Step 1: Lay out block

Step 2: Sew RST each strip of fabric lengthwise until all (6) strips are sewn together. (Use a small stitch (1.8) because you'll be cutting the thread.)


Step 3: Fold unit from above in half lengthwise and sew the first and last strip together, right side together. This will create a tube.

Step 4: Cut above unit in (6) 2.5" segments.


